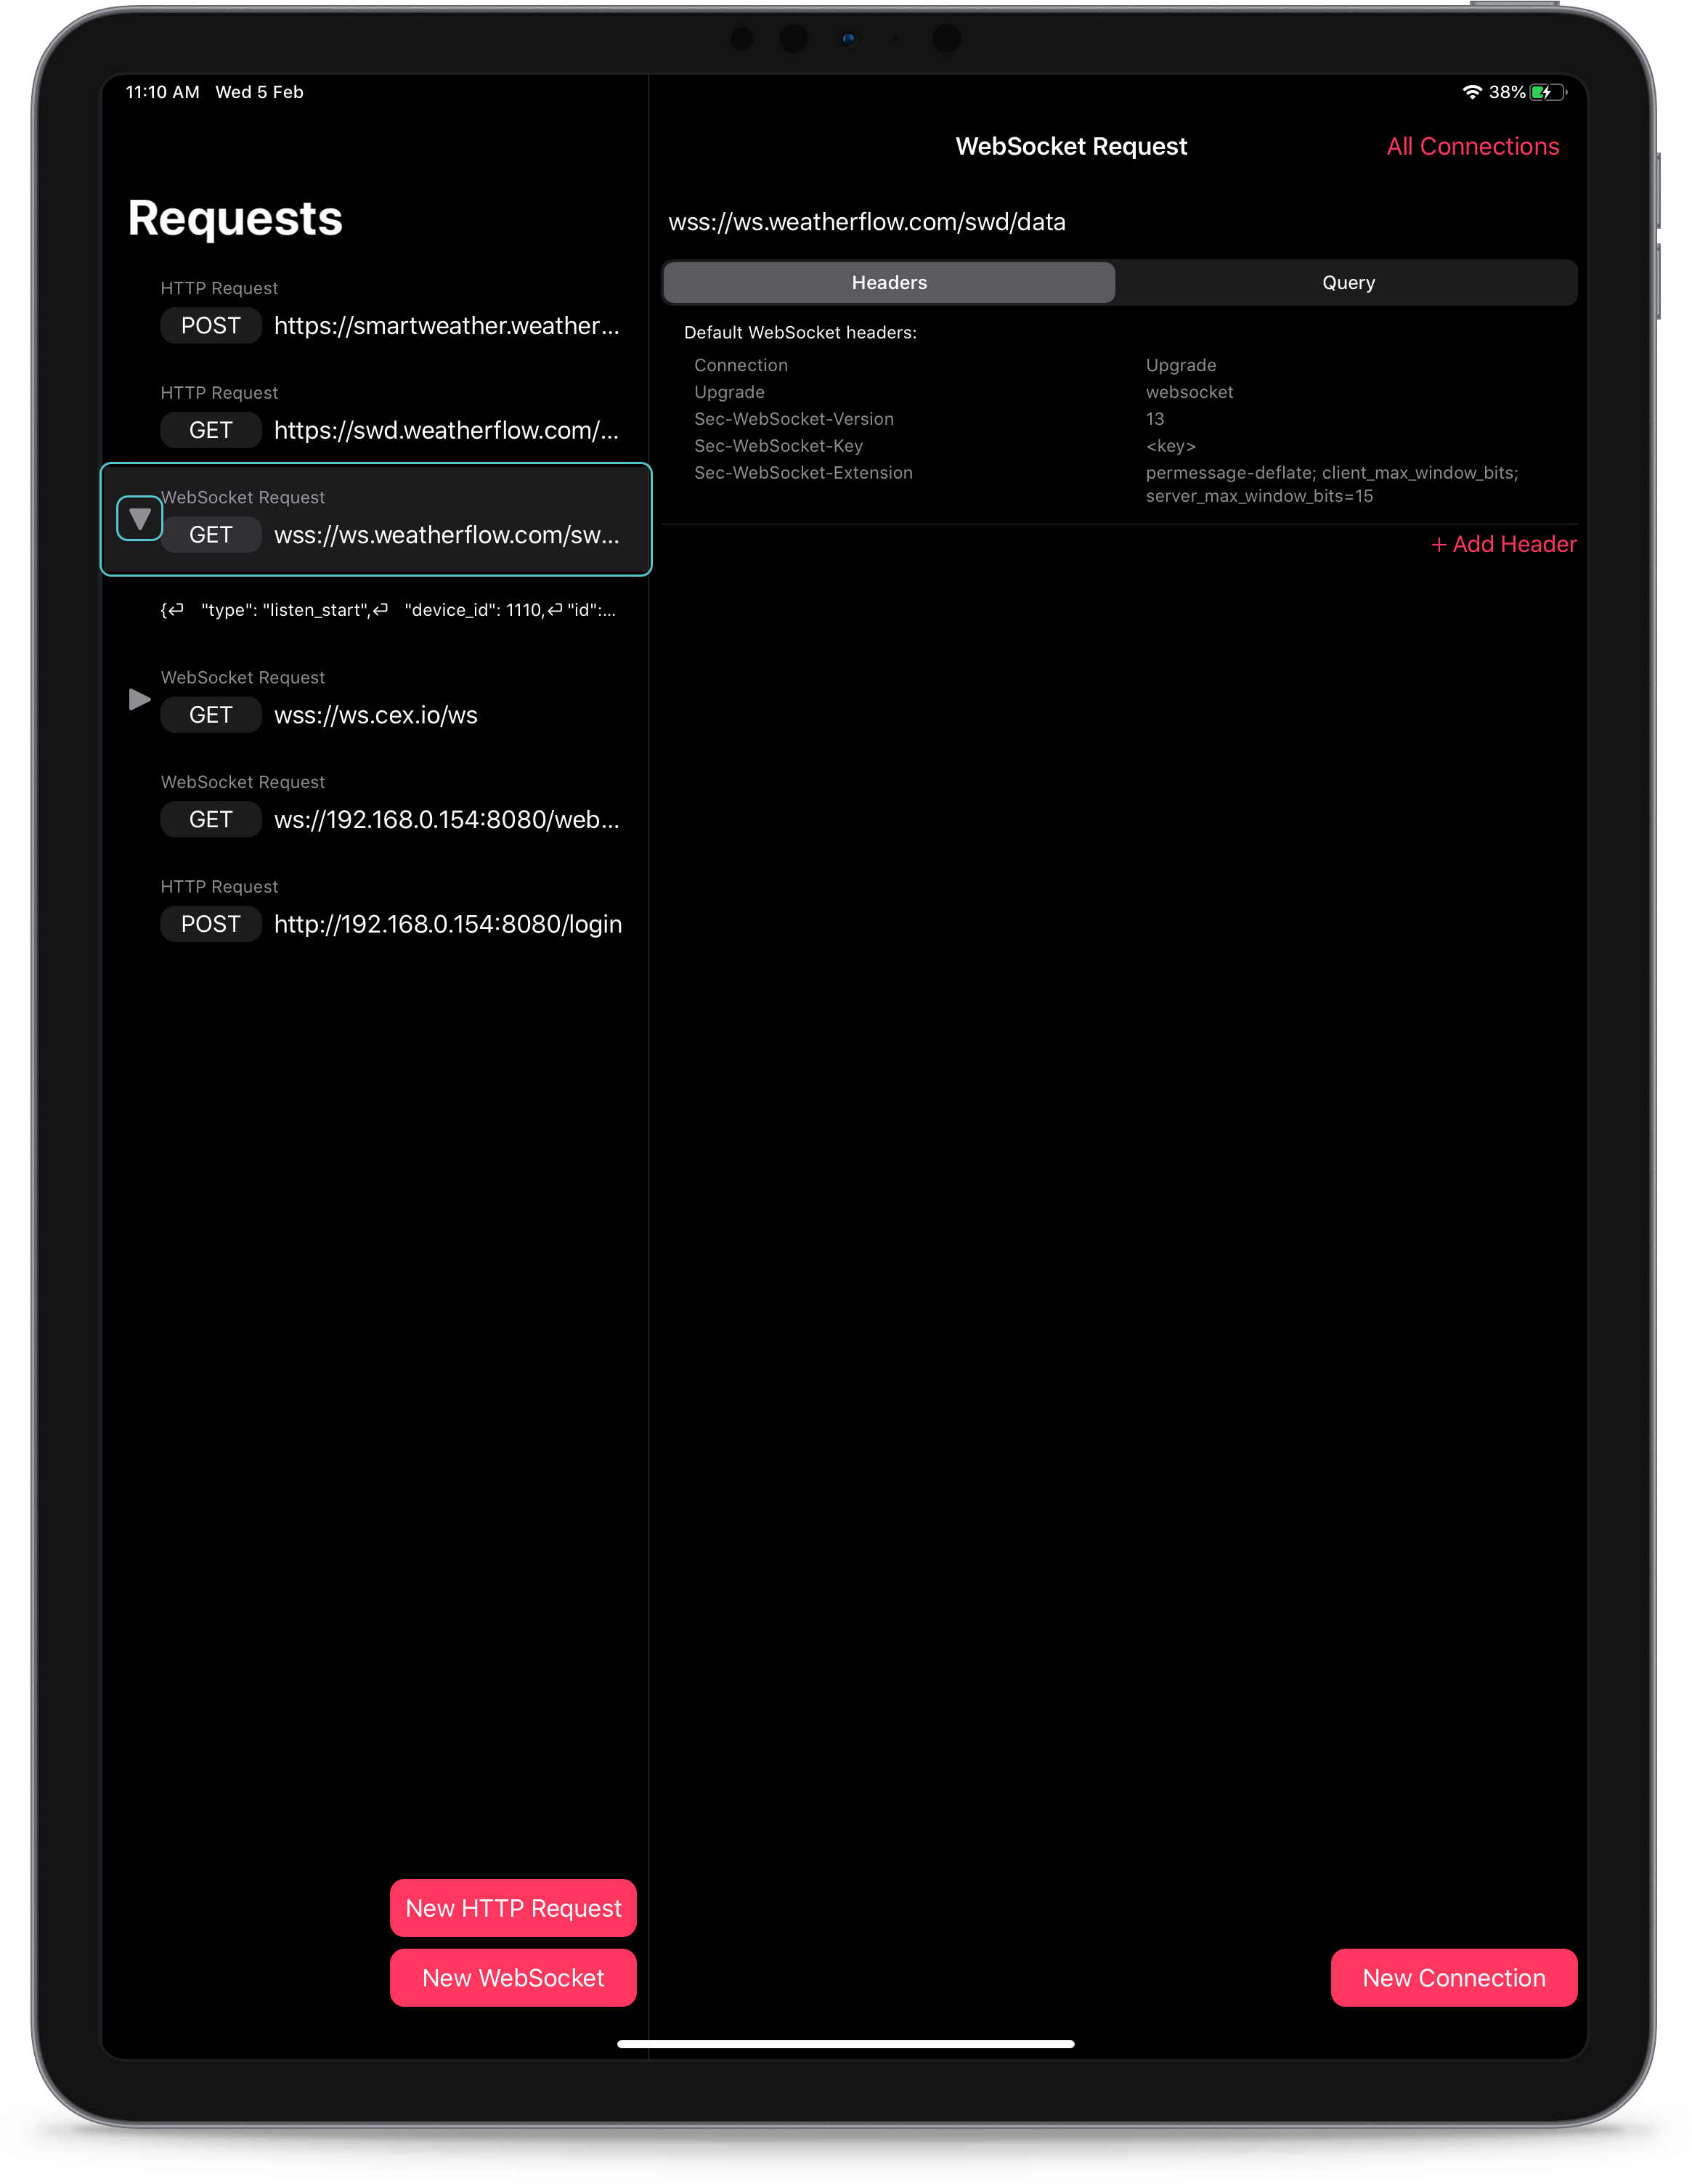
In this article we would like to share what we have learned about buttons in SwiftUI List lines when developing one of our apps. We have a list in the form of a tree view. The parent row has a button to expand and collapse the children and each row is also used as a navigation link.

#
Two buttons in one row
You can just put two button Single line displays.
List {
    HStack(spacing: 20) {
        Button(action: {
            self.isExpanded.toggle()
        }) {
            Expand(isExpanded: isExpanded)
        }
        Button(action: {
            self.isSelected.toggle()
        }) {
            Select(isSelected: isSelected)
        }
    }
}
But in this scenario tapping anywhere in the row will activate both buttons at once.
#
Fix onTapGesture and button
We can replace the first one Button with custom display with onTapGesture device.
List {
    HStack(spacing: 20) {
        Expand(isExpanded: isExpanded)
            .onTapGesture {
                self.isExpanded.toggle()
            }
        Button(action: {
            self.isSelected.toggle()
        }) {
            Select(isSelected: isSelected)
        }
    }
}
In this case, just tap on Expand View will only replace the extension, but tapping anywhere else will activate the Select View.
#
Two views with onTapGesture change
To avoid making the entire row a clickable button, we can only use custom views with onTapGesture Changer and no buttons at all.
List {
    HStack(spacing: 20) {
        Expand(isExpanded: isExpanded)
            .onTapGesture {
                self.isExpanded.toggle()
            }
        Select(isSelected: isSelected)
            .onTapGesture {
                self.isSelected.toggle()
        }
    }
}
This way tapping exactly on the views will trigger their actions and tapping anywhere else in the row will do nothing.
#
Summary
when using Button Views and onTapGesture By changing list rows in SwiftUI we can achieve different results according to our needs. We must remember that if we use at least one Button The entire row will become clickable and tapping anywhere in the row will activate all the buttons. Views with onTapGesture Changes do not have the same behavior and are only activated when the user precisely taps on their area.
You can find the full code for the above examples here GitHub folder for this article.
