
In this post I will go over how to integrate a smart WIFI relay that I bought through him Ali Express into my main gate control systems.
After the integration of the WIFI relay switch, I can control the opening/closing of my main gate using Alexa and spinning application.
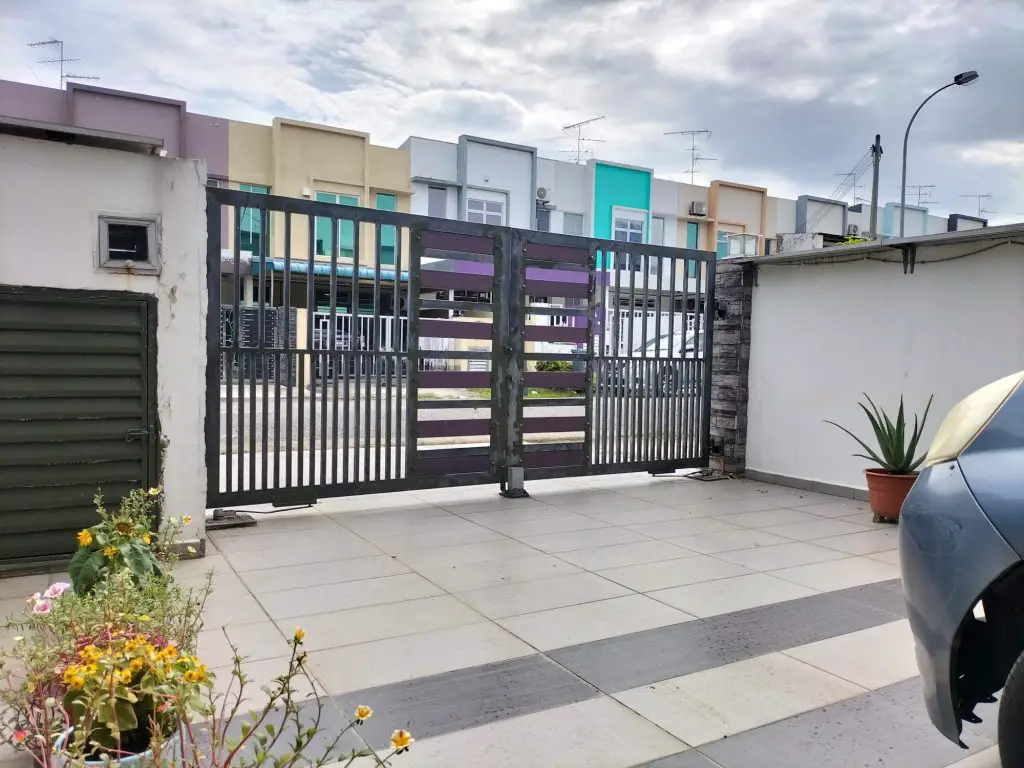
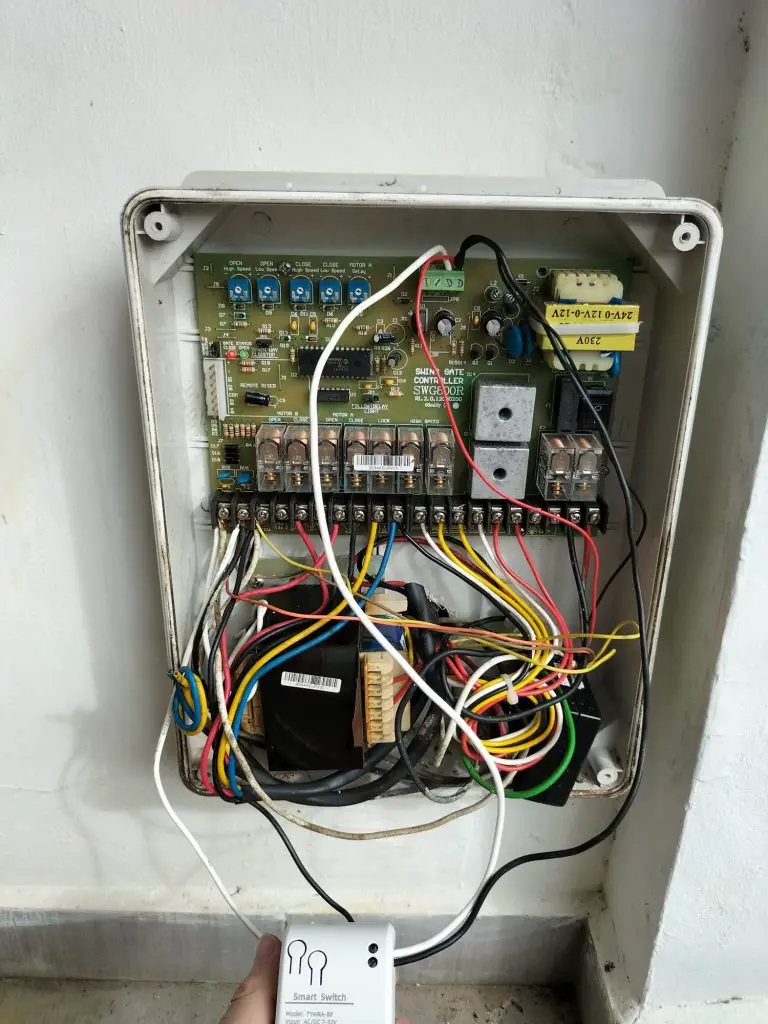
My main gateway that I intend to control with the WIFI relay switch
Level 1
Locate where your main gate control systems box is located

level2
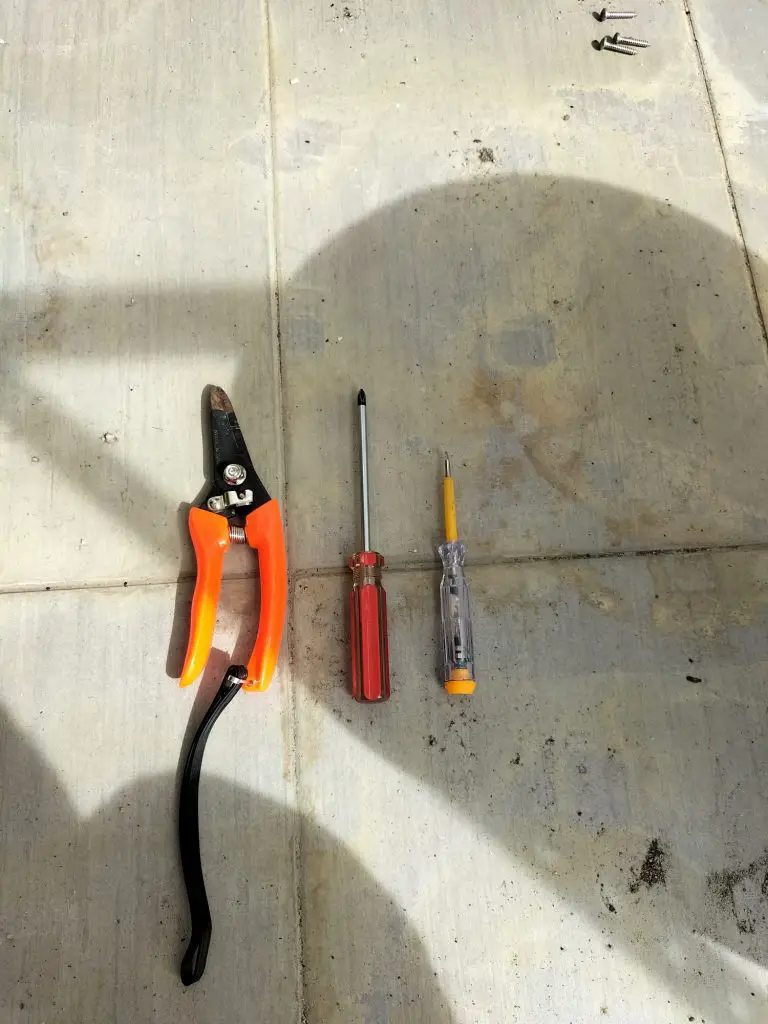
Prepare dishes
- Phillips head screwdriver
- Flat screwdriver
- Cable 1mm2 0r 0.75mm (white/black)
- Cutter
Step 3
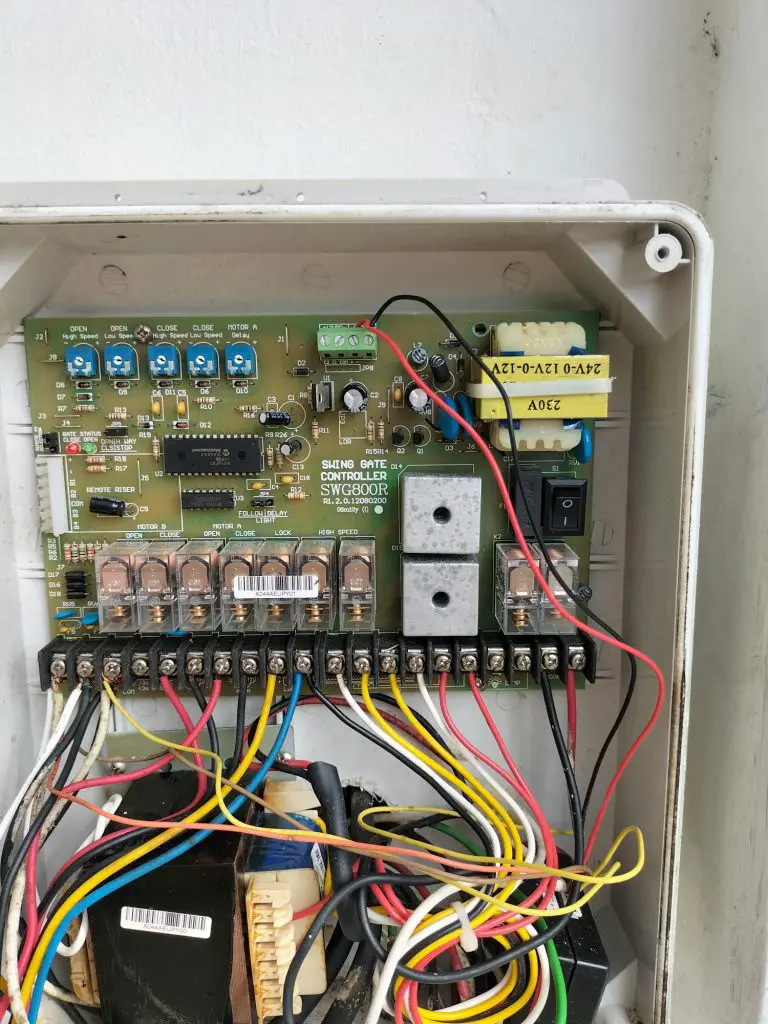
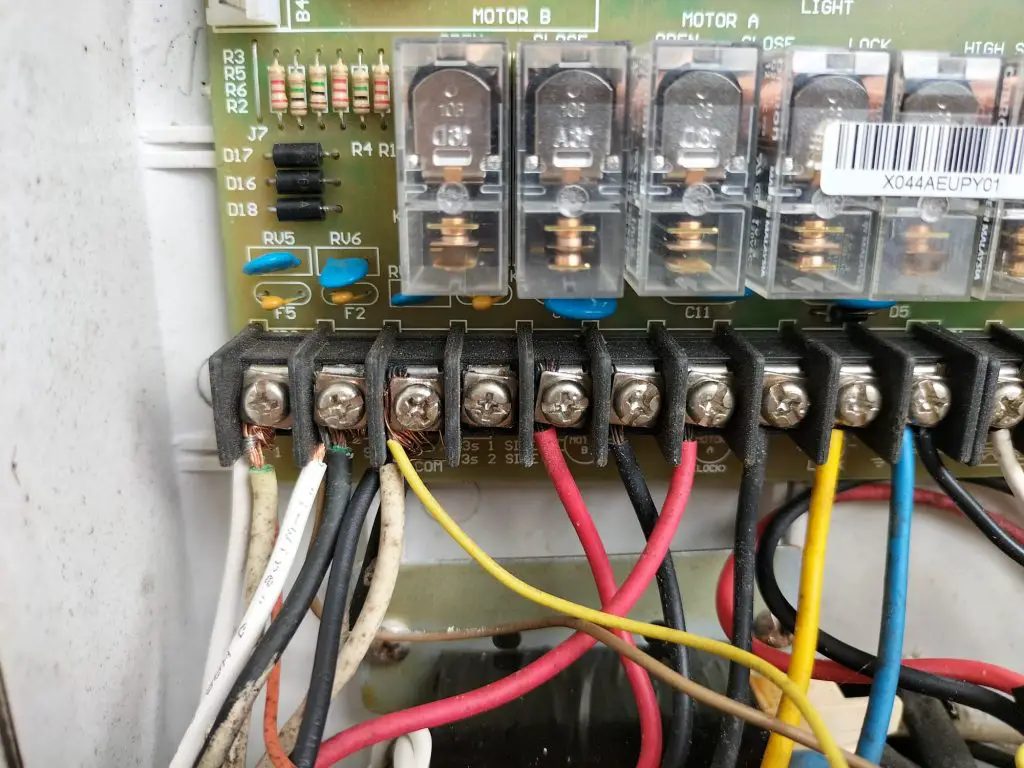
Open your main gate control box and look for the 2 items listed below
1. Power supply source terminal
(a) Identify what type of power source is provided by your main gate control system (AC/DC)?
2. NO / NC terminal use to control your main gate
(a) Use a jumper cable to short the NC/NO terminal of the main gate control system board, and see the result?
(b) Identify the correct NO/NC terminal that will connect to the WIFI relay switch later.
**Note: Your main gate control box may be different.
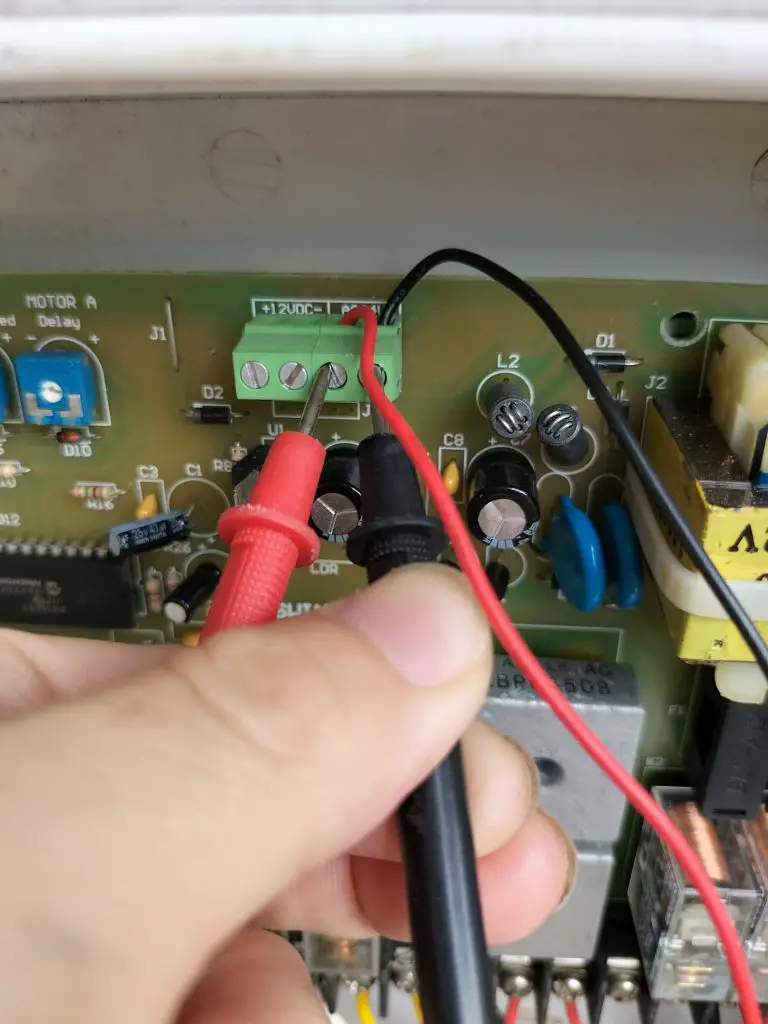
Step 4
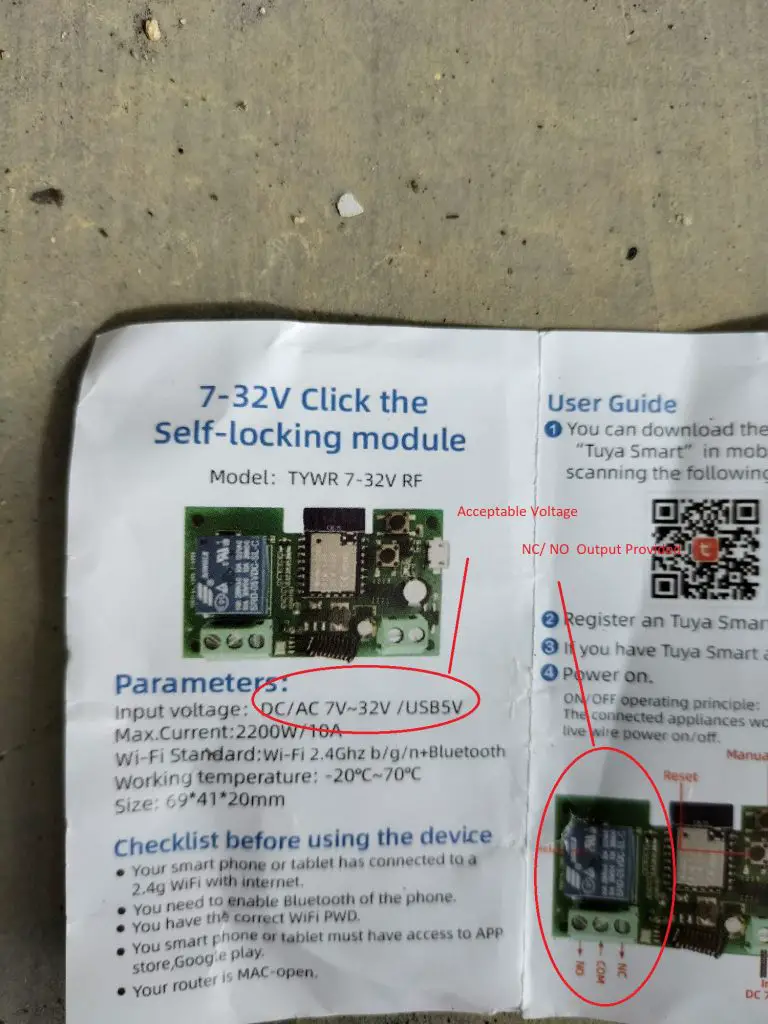
Verify your findings in step 3 against the WIFI relay switch specification to check its compatibility
in my case
- The power supply source provided is 12VAC
- No terminal is needed to control the opening and closing of the gate
Step 5
Refer to the specification manual, and connect the power source and the terminalless terminal to the WIFI relay module.
Step 6
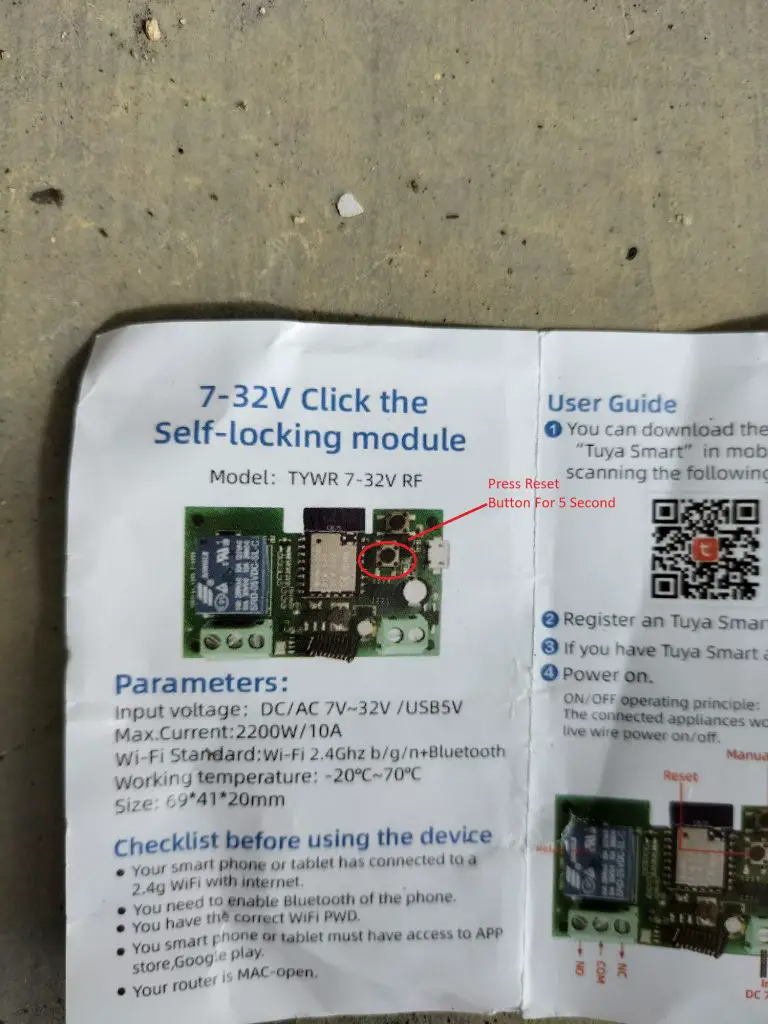
WIFI relay module setup for Tuya app
Press the reset button for 5 seconds to activate WIFI connection
When you notice that the LED blinks very quickly, the device is ready to activate a WIFI connection
Step 7
Open the Tuya app, click the “+” located on the right side of the Tuya app

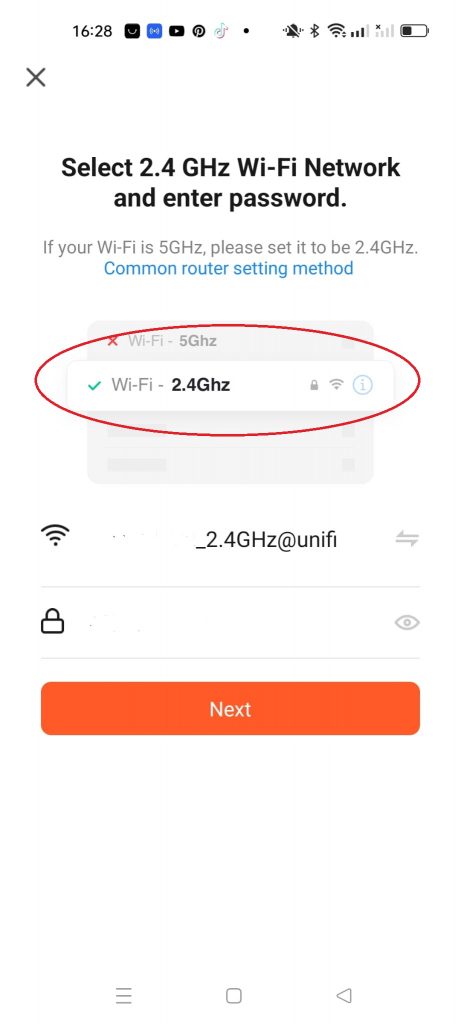
Step 8
Select WiFI connection, which you want to connect, enter password and click connect.
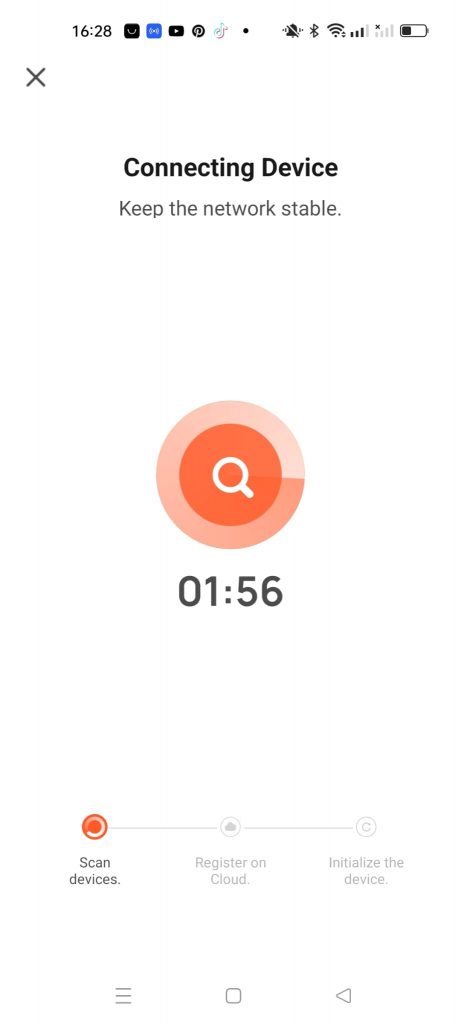
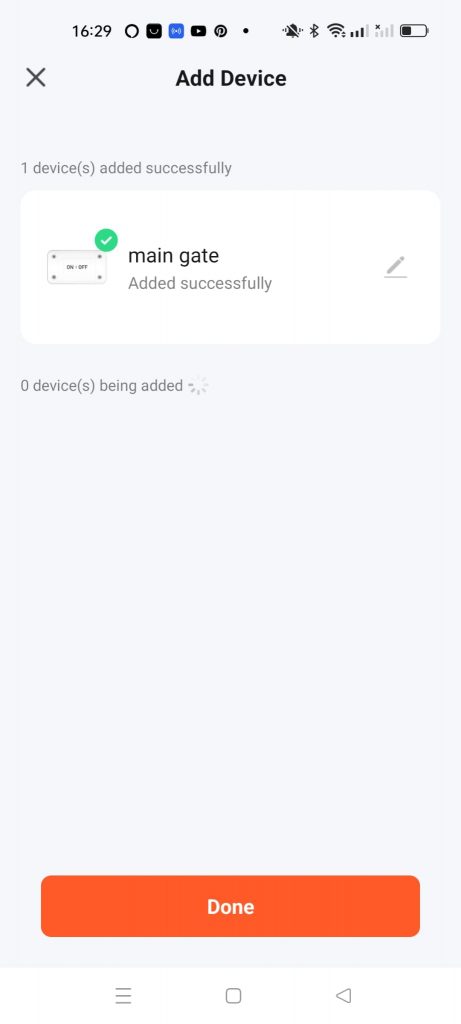
Step 9
Verifies whether the WIFI relay module is connected
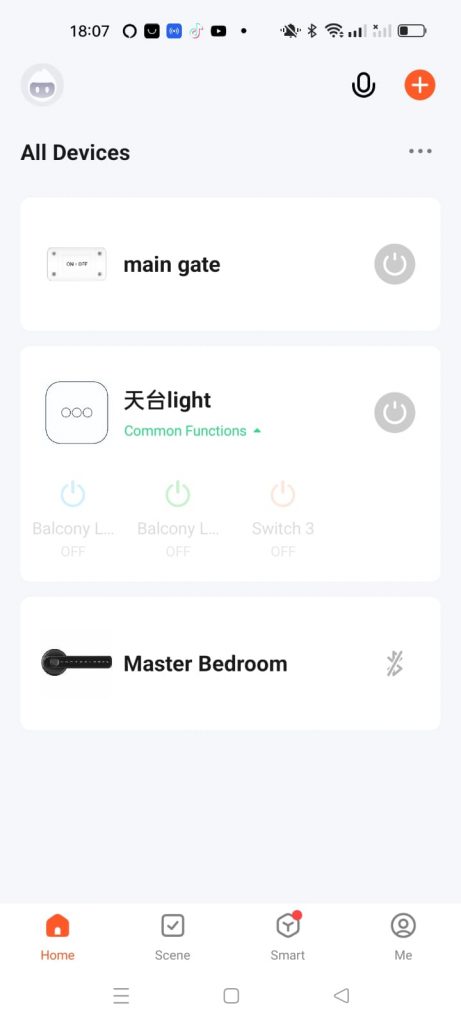
Step 10
Main gate opening test using Tuya app and Alexa app
In order to control Tuya devices using the Alexa app, you will need to enable Tuya Skills in your Alexa app

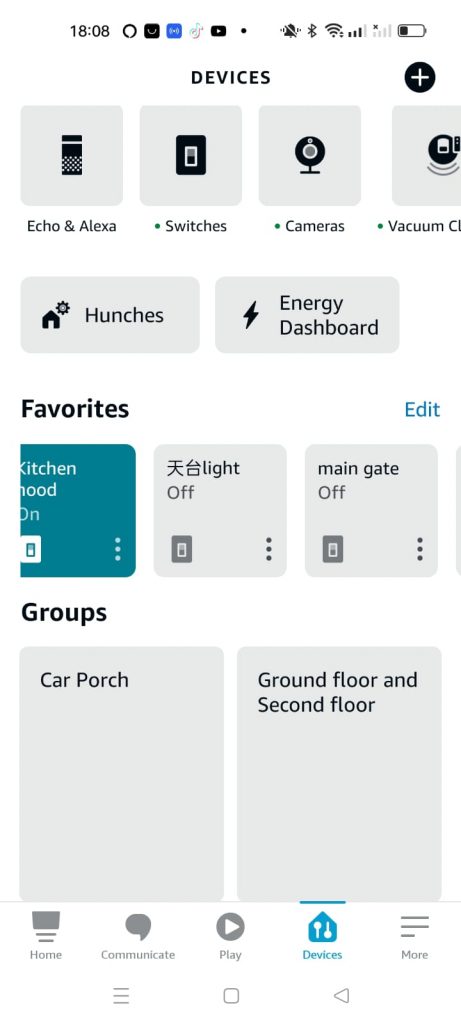
The main gate is open!!

Check how to install Smart Deadbolt Lock